PRESS
PRESS 
Dubai E-Visa Application Process
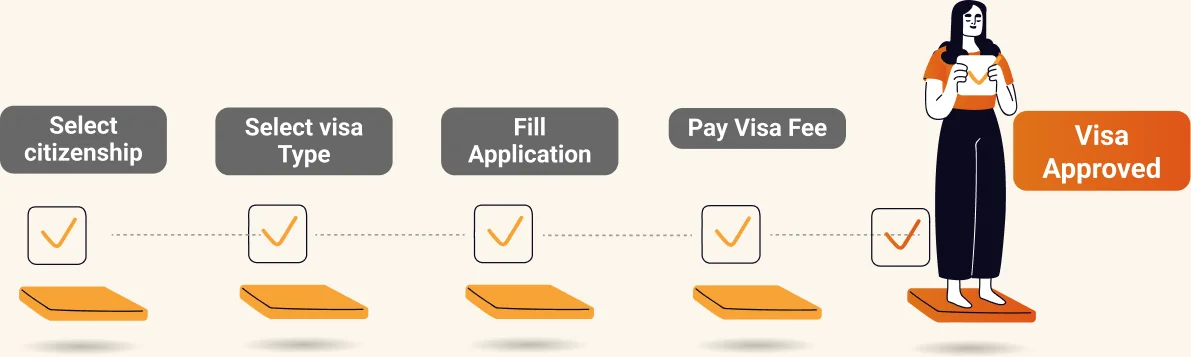
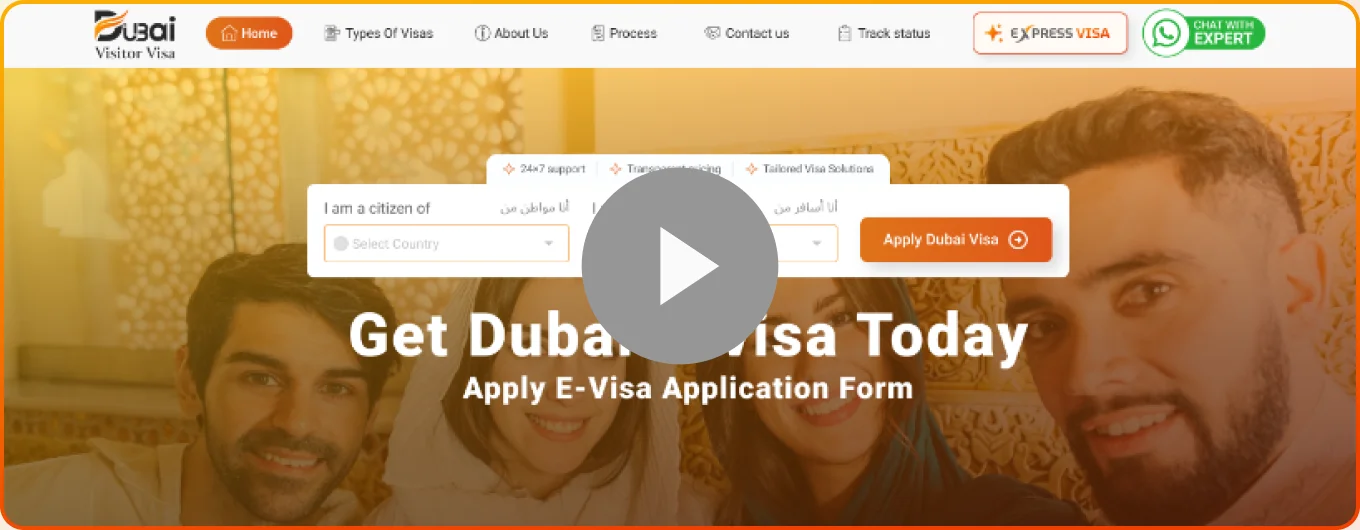
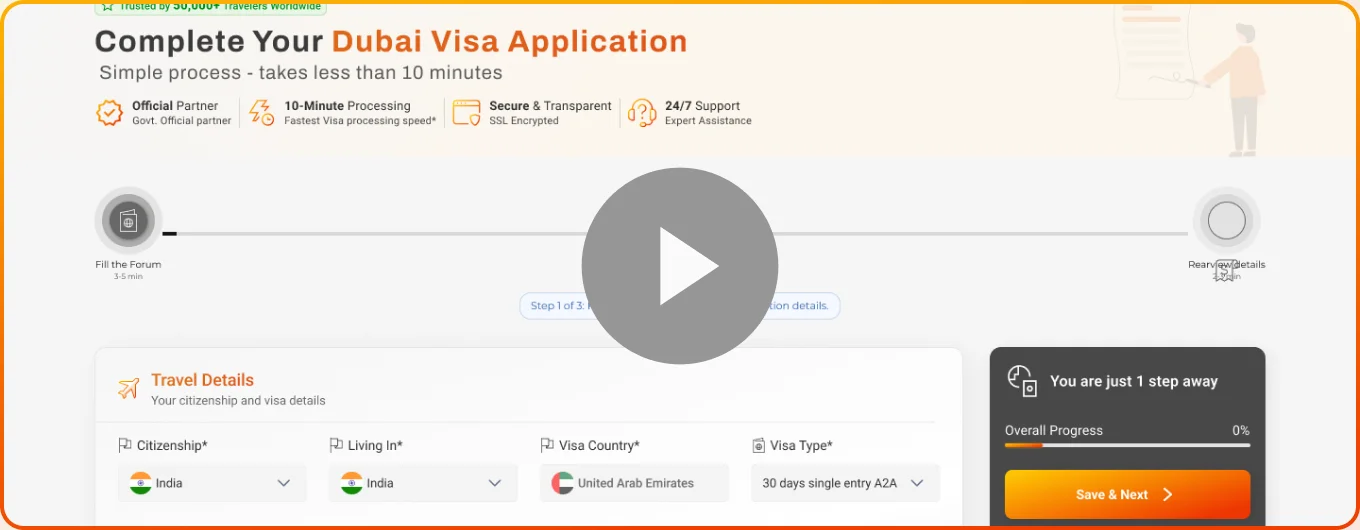
Choose Your Living And Citizenship Country
Start with the passport you hold and the country you are flying from — the two drop-downs shape everything that follows, from the visa options you see to the documents your nationality needs.

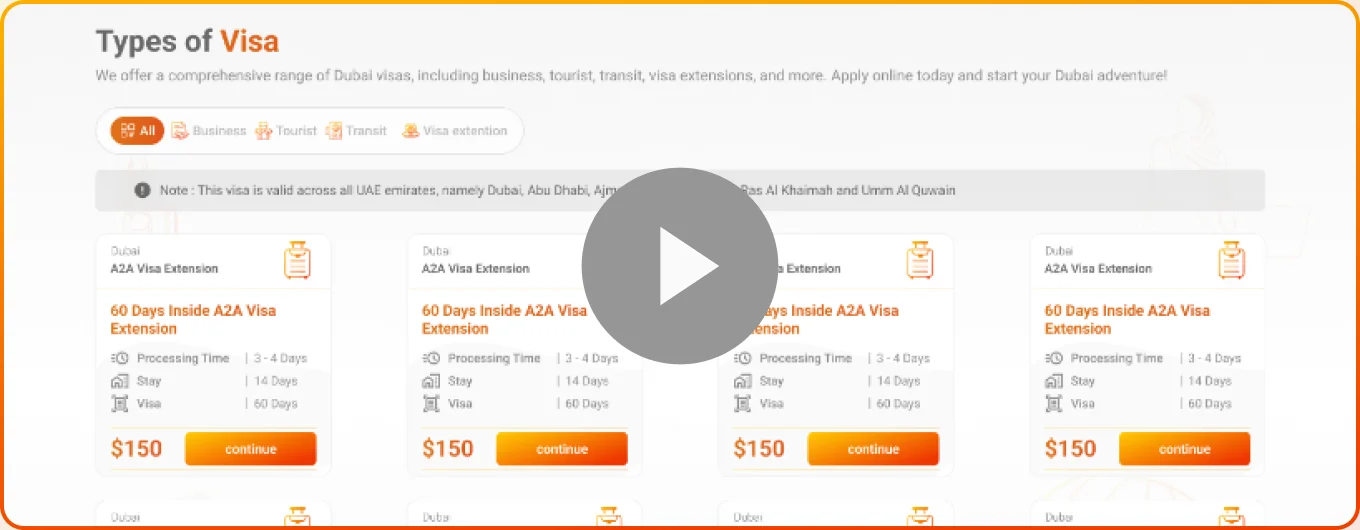
Select Type Of Visa And Then Proceed
Compare the visitor visa options open to you — 48-hour and 96-hour transit, 14-day business, and 30-, 60-, and 90-day visit visas in single- and multiple-entry variants — and choose the one whose stay length matches your plans, not just your departure date.

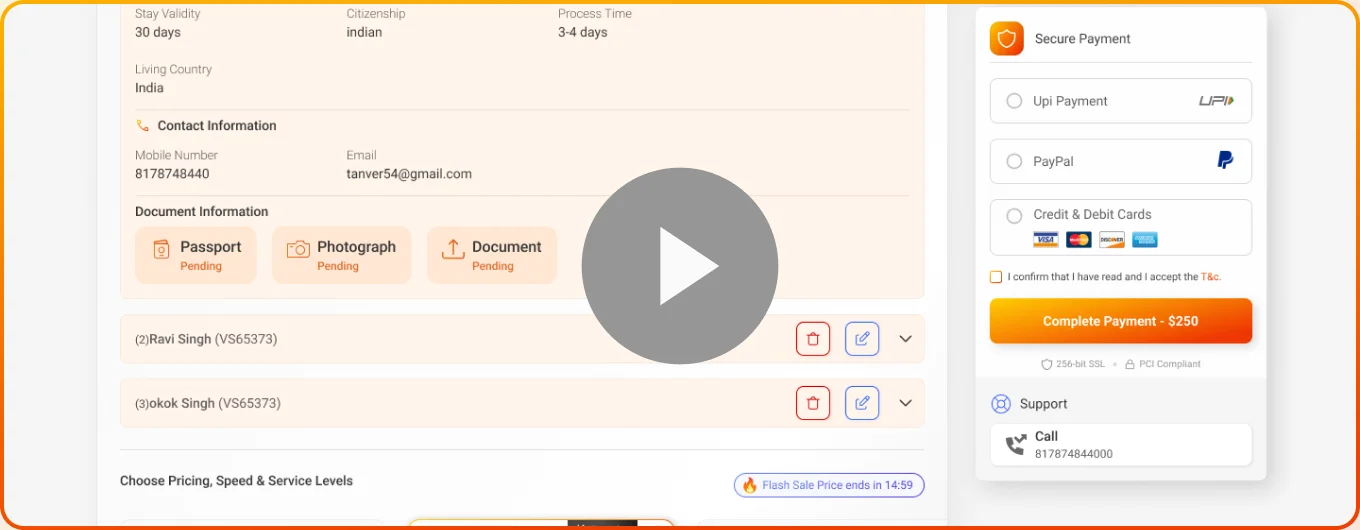
Fill Dubai Visa Application Form
Complete the form and add family or friends travelling with you to the same application. Upload the passport scan, photograph, and supporting bookings — everything transmits over an encrypted connection, and a consultant reviews the file before it goes anywhere.
Pay Visa Fee
Review the fee shown for your visa — what you see is what you pay, with nothing added at checkout — and pay securely by card. Your application ID arrives by email the moment payment confirms.
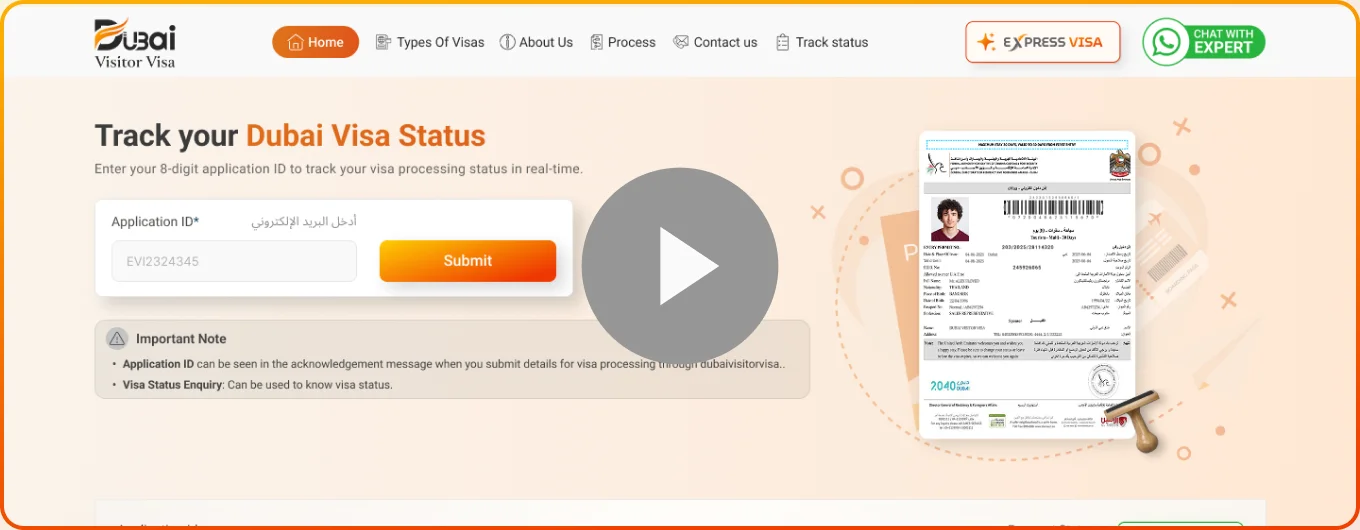
Verify Your Visa
Follow your application through every stage with your application ID. When the visitor visa is approved, it lands in your inbox — download it, check each detail against your passport, and print a copy for the airport.